PENETRANT TESTING
- This module is intended to provide an introduction to the NDT method of penetrant testing.
- Penetrant Testing, or PT, is a nondestructive testing method that builds on the principle of Visual Inspection.
- PT increases the “seeability” of small discontinuities that the human eye might not be able to detect alone.
- General Introduction
- Penetrant Materials and Considerations
- Basic Steps in Penetrant Testing
- Common Equipment
- Advantages and Limitations
- Summary
- Glossary of Terms
How Does PT Penetrant Testing Work?
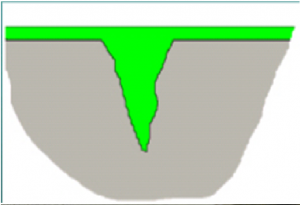
- In penetrant testing, a liquid with high surface wetting characteristics is applied to the surface of a component under test.
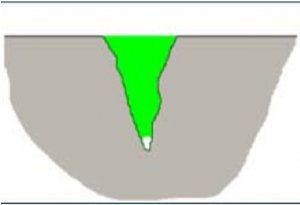
- The penetrant “penetrates” into surface breaking discontinuities via capillary action and other mechanisms.
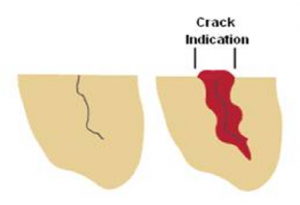
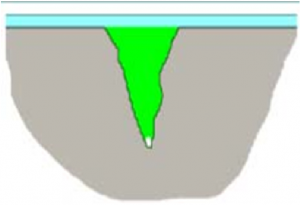
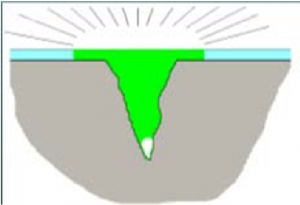
- Excess penetrant is removed from the surface and a developer is applied to pull trapped penetrant back the surface.
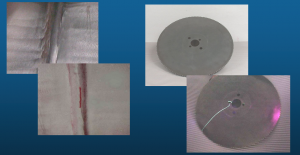
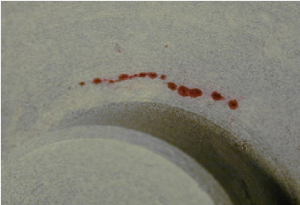
- With good inspection technique, visual indications of any discontinuities present become apparent.
What Makes PT Penetrant Testing Work?
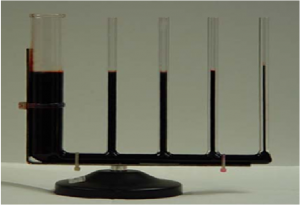
- Every step of the penetrant process is done to promote capillary action.
- This is the phenomenon of a liquid rising or climbing when confined to small openings due to surface wetting properties of the liquid.
- Some examples:
–Plants and trees draw water up from the ground to their branches and leaves to supply their nourishment.
–The human body has miles of capillaries that carry life sustaining blood to our entire body.
Basic Process of PT Penetrant Testing
1) Clean & Dry Component
2) Apply Penetrant
3) Remove Excess
4) Apply Developer
5) Visual Inspection
6) Post Clean Component
What Can Be Inspected Via PT Penetrant Testing?
Almost any material that has a relatively smooth, non-porous surface on which discontinuities or defects are suspected.
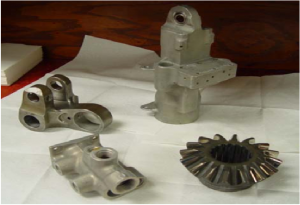 What Can NOT be Inspected Via PT Penetrant Testing?
- Components with rough surfaces, such as sand castings, that trap and hold penetrant.
- Porous ceramics
- Wood and other fibrous materials.
- Plastic parts that absorb or react with the penetrant materials.
- Components with coatings that prevent penetrants from entering defects.
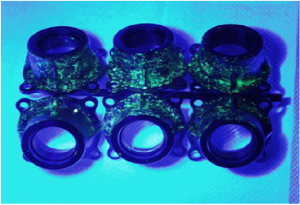 Defect indications become less distinguishable as the background “noise” level increases.
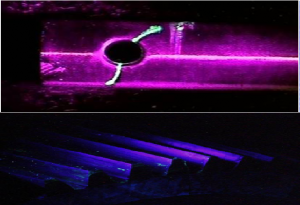
What Types of Discontinuities Can Be Detected Via PT Penetrant Testing?
All defects that are open to the surface.
–Rolled products– cracks, seams, laminations.
–Castings–cold shuts, hot tears, porosity, blow holes, shrinkage.
–Forgings– cracks, laps, external bursts.
–Welds– cracks, porosity, undercut, overlap, lack of fusion, lack of penetration.
 Choices of Penetrant Materials
Penetrant :
Type
I Fluorescent
II Visible
Method
A Water Washable
B Postemulsifiable – Lipophilic
C Solvent Removable
D Postemulsifiable – Hydrophilic
Developer:
Form
Dry Powder
Wet, Water Soluble
Wet, Water Suspendable
Wet, Non-Aqueous
6 Steps of Penetrant Testing
- Pre-Clean
- Penetrant Application
- Excess Penetrant Removal
- Developer Application
- Inspect/Evaluate
- Post-clean
Advantages of Penetrant Testing
- Relative ease of use.
- Can be used on a wide range of material types.
- Large areas or large volumes of parts/materials can be inspected rapidly and at low cost.
- Parts with complex geometries are routinely inspected.
- Indications are produced directly on surface of the part providing a visual image of the discontinuity.
- Initial equipment investment is low.
- Aerosol spray cans can make equipment very portable.
Limitations of Penetrant Testing
- Only detects surface breaking defects.
- Requires relatively smooth nonporous material.
- Precleaning is critical. Contaminants can mask defects.
- Requires multiple operations under controlled conditions.
- Chemical handling precautions necessary (toxicity, fire, waste).
- Metal smearing from machining, grinding and other operations inhibits detection. Materials may need to be etched prior to inspection.
- Post cleaning is necessary to remove chemicals.


